
New · Scenery & Weather
FAA signs and markings on the airfield
Runway holding positions, taxiway lines, distance-remaining boards and the red, yellow and black signs, all from the FAA Aeronautical Information Manual.
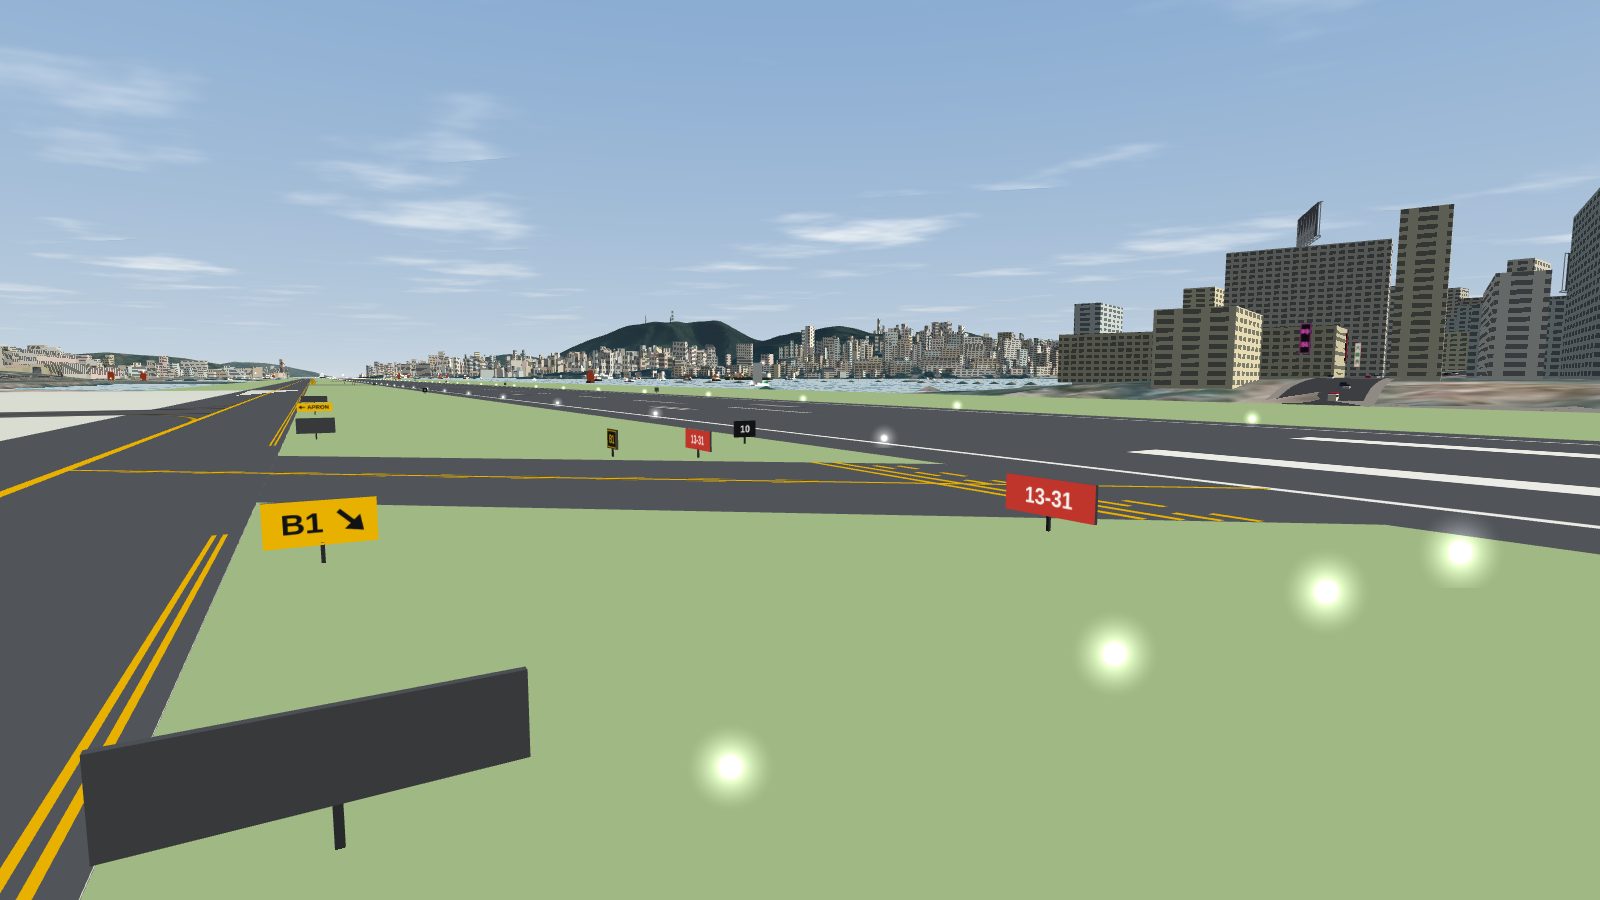
The airfield now carries the standard signs and markings from the FAA Aeronautical Information Manual (chapter 2, section 3): runway markings, yellow taxiway markings, and five of the manual's six families of airport sign (the information sign is not in yet). The colours follow the manual, so a red sign always means a runway, and a yellow one always means a taxiway.
Runway markings
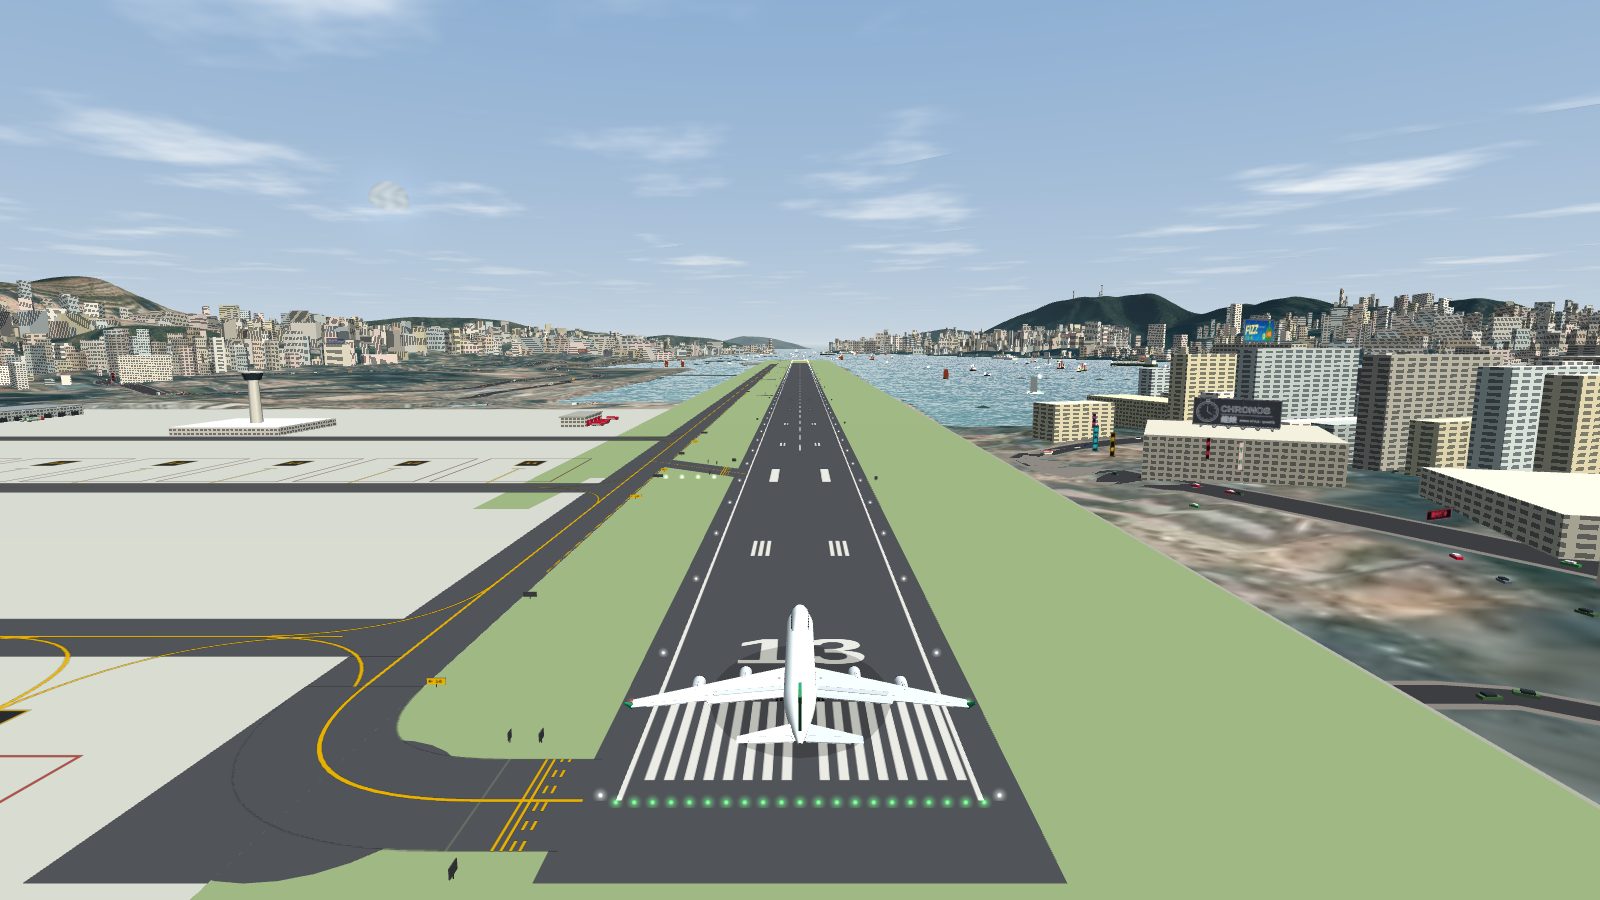
Each threshold keeps its bars and number. The touchdown-zone bars now run on past the aiming point, as three pairs, the aiming point, then two pairs, two pairs and single pairs out to 3,000 ft. The centre line is now cut into 120 ft stripes with 80 ft gaps.
Holding positions and taxiway markings
The six link taxiways between the runway and taxiway A are named B1 to B6, counting from the 13 end. Each one has a yellow centre line, with extra dashes beside it for the last stretch before the runway holding position. The holding position is four lines: two solid lines on the taxiway side where you stop, and two dashed lines on the runway side. Taxiway A also has a double yellow edge line along its runway side, broken where each link joins it.
Signs
- Mandatory (white on red): 13-31 at each link's holding position, and 13 and 31 at the two ends of taxiway A.
- Location (yellow on black): B1 to B6 beside the holding signs, and A at the runway ends.
- Direction (black on yellow): on taxiway A, each link has a sign with its name and an arrow, one for each direction of travel.
- Destination (black on yellow): where the apron lanes leave taxiway A. D3 points to stands 1-8, D2 to remote stands 11-19, and D1 to the apron.
- Distance remaining (white on black): a numeral for the thousands of feet left, every 1,000 ft down the left side for each landing direction.
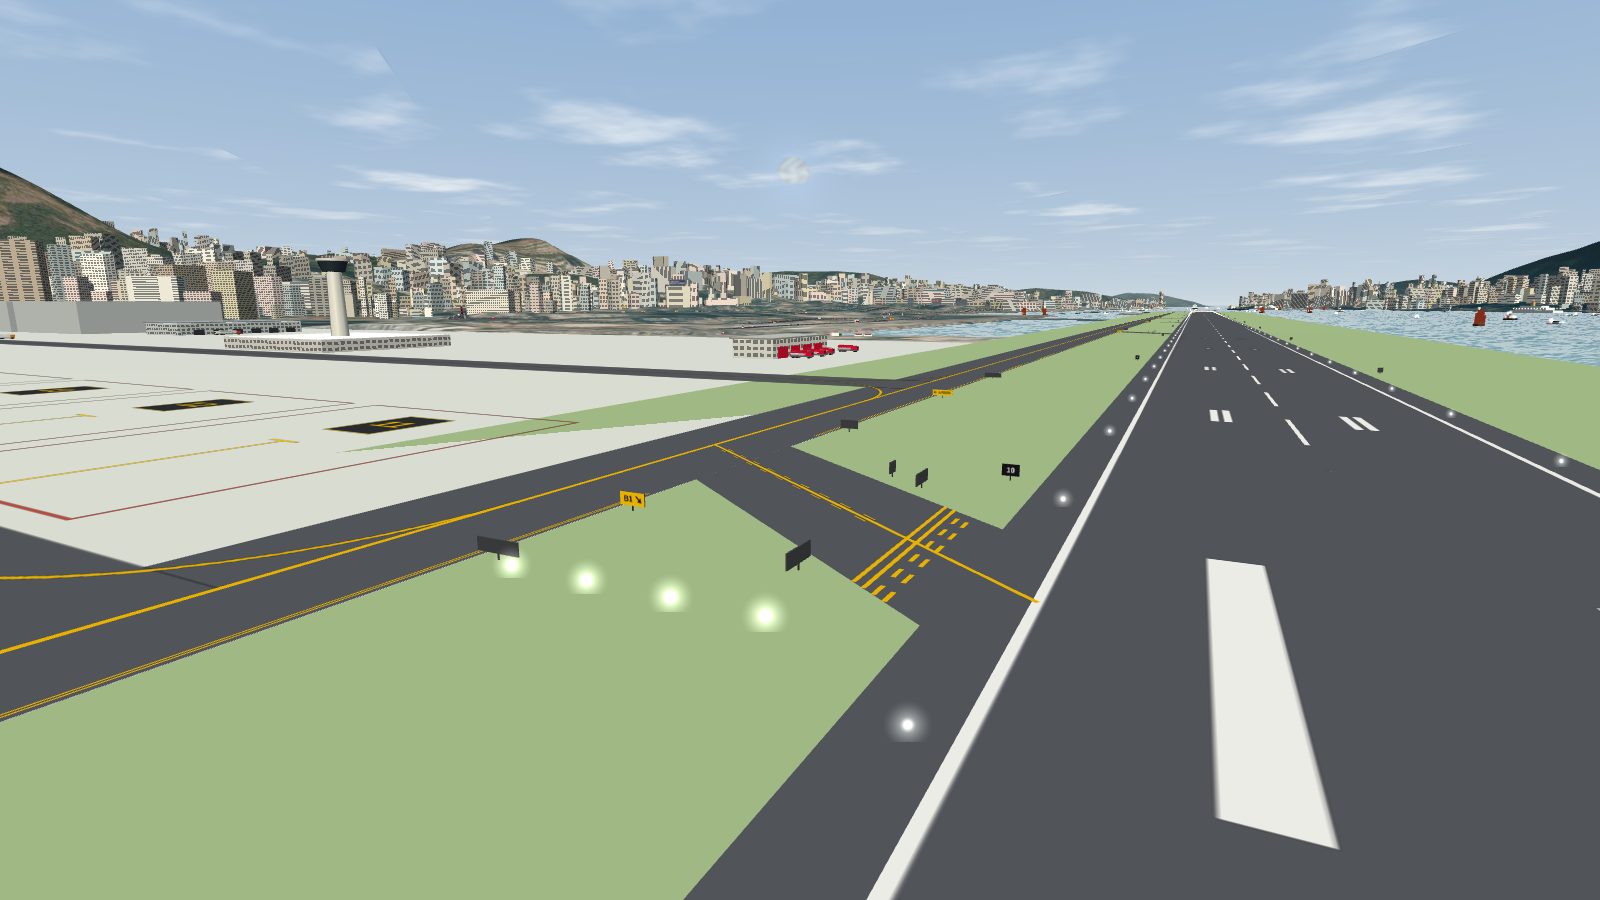
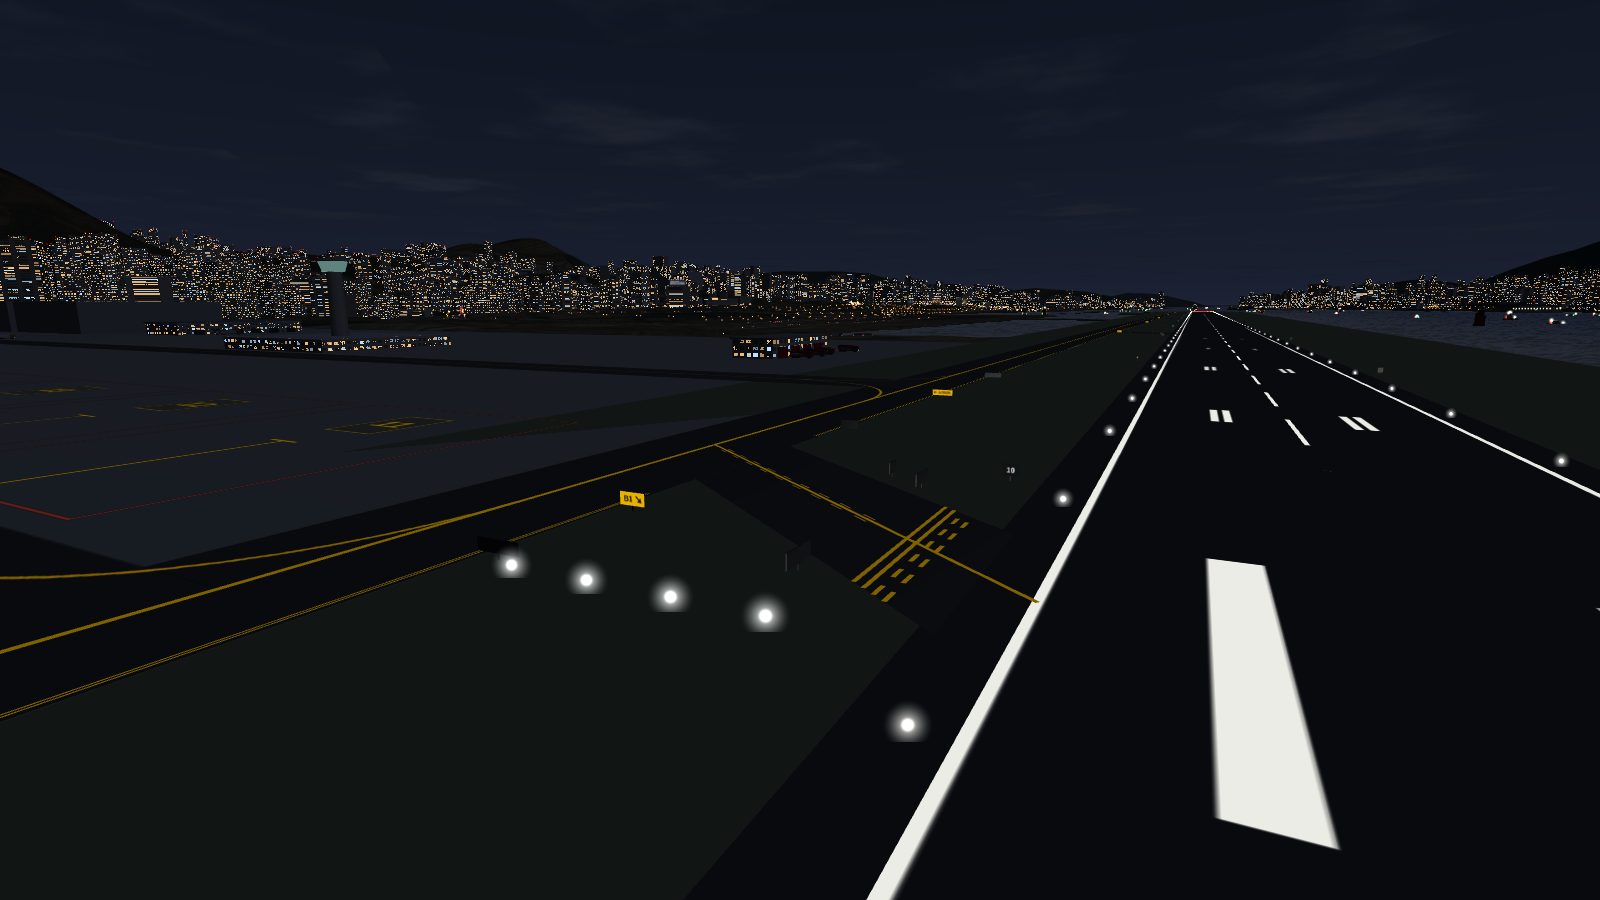
The signs are lit from inside, so they stay readable at night, and the painted lines dim with the rest of the ground.
The B1 to B6 names and the apron destination numbers are the sim's own, not from the Kai Tak chart. Taxiway A's yellow centre line was also drawing white after the night dimming code ran; it is yellow again. Landings are unaffected: the autopilot still lands on both runways in every weather preset, and flying with no input still ends in a crash.
機場而家有齊 FAA《航空資訊手冊》(第 2 章第 3 節)嘅標準標誌同標記:跑道標記、黃色滑行道標記,仲有手冊六類機場標誌牌入面嘅五類(資訊牌未有)。顏色跟手冊:紅色牌永遠係指跑道,黃色牌永遠係指滑行道。
跑道標記
每個跑道頭都保留條紋同號碼。接地區標記而家喺瞄準點之後繼續延伸:三對、瞄準點、兩對、兩對,之後係單對,一直去到 3,000 呎。中線改為 120 呎長嘅線段同 80 呎空隙。
等候位置同滑行道標記
跑道同 A 滑行道之間嘅六條連接滑行道,由 13 端數起叫 B1 至 B6。每條都有黃色中線,入跑道等候位置前最後一段,中線旁邊加咗短線。等候位置係四條線:滑行道一邊係兩條實線,要喺呢度停;跑道一邊係兩條虛線。A 滑行道靠跑道嗰邊亦有雙黃邊線,每條連接滑行道接入處斷開。
標誌牌
- 強制(紅底白字):每條連接滑行道嘅等候位置有 13-31,A 滑行道兩端有 13 同 31。
- 位置(黑底黃字):等候牌旁邊有 B1 至 B6,跑道盡頭有 A。
- 方向(黃底黑字):A 滑行道上,每條連接滑行道都有寫住名同箭咀嘅牌,兩個行駛方向各一塊。
- 目的地(黃底黑字):停機坪滑行道離開 A 滑行道嘅位置。D3 指向 1-8 號機位,D2 指向 11-19 號遠端機位,D1 指向停機坪。
- 剩餘距離(黑底白字):顯示剩低幾千呎嘅數字,每個降落方向沿左邊每 1,000 呎一塊。
標誌牌係內部照明,夜晚都睇得清;地面嘅漆線就同其他地面一樣變暗。
B1 至 B6 嘅名同停機坪目的地號碼係模擬器自己用嘅,唔係啟德機場圖上嘅。A 滑行道嘅黃色中線之前喺夜間變暗處理後會變白色,而家已經回復黃色。降落冇受影響:自動駕駛仍然可以喺所有天氣預設下降落兩條跑道,而完全唔操作飛機仍然會墜毀。
More from the blog
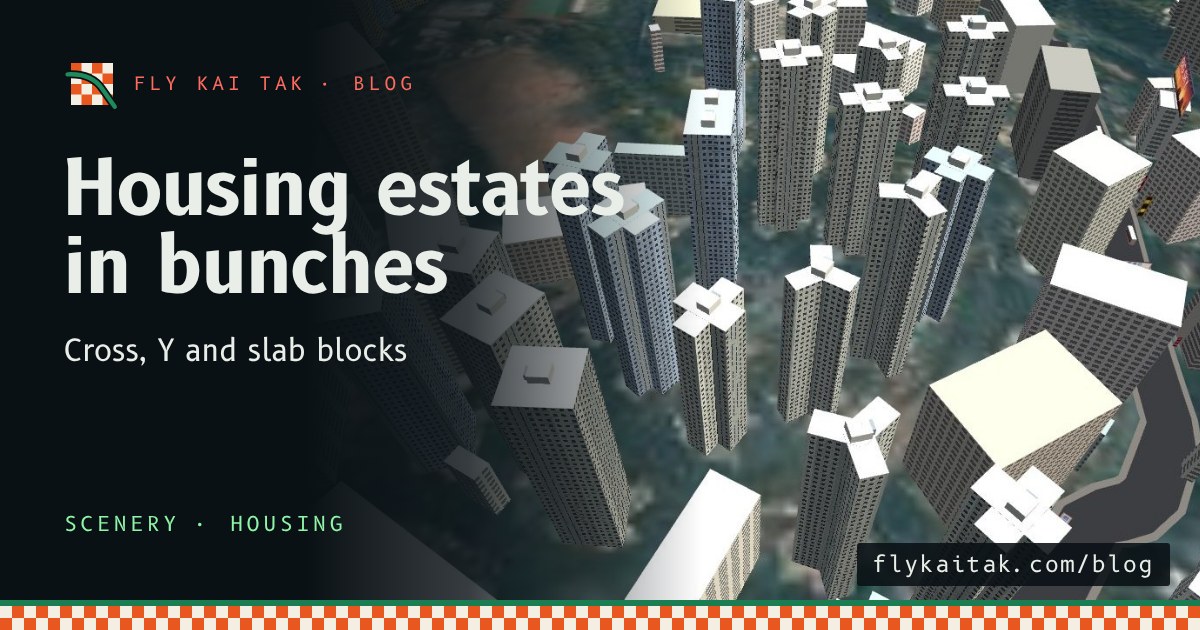
Public housing estates in bunches
Hong Kong public housing blocks (Harmony, Trident, Twin Tower and slab) now stand in matching estates in the sim, with pastel facades, air-conditioners and roof tanks.
Read the post →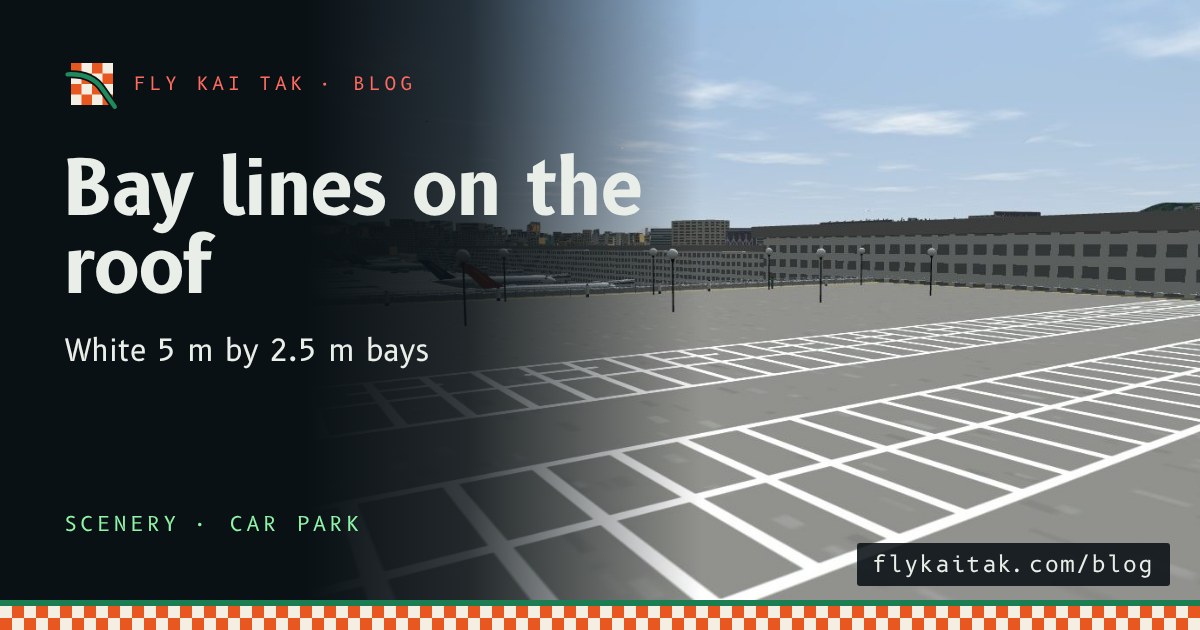
Bay lines on the car park roof
The Plane Spotter car park roof now has white parking bay lines: a row against the far wall and three double rows with aisles between them.
Read the post →