
Update · Scenery & Weather
The Kai Tak terminal, rebuilt to match the chart
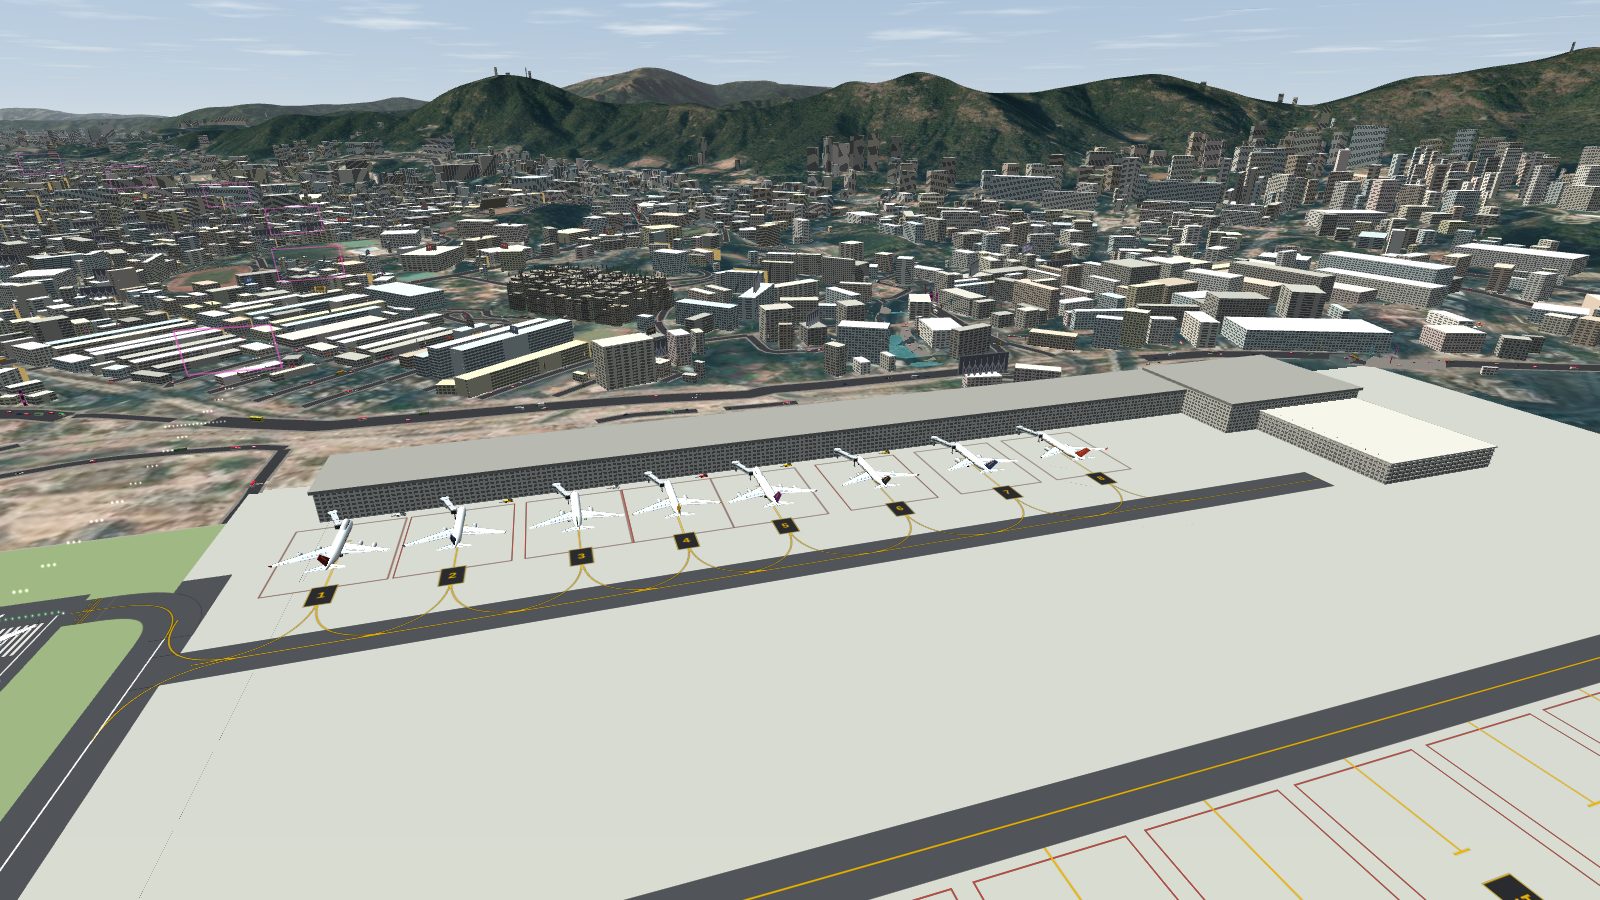
The terminal pier now stands at the north-west end of the apron, at right angles to the runway, with eight nose-in stands and three apron lanes.
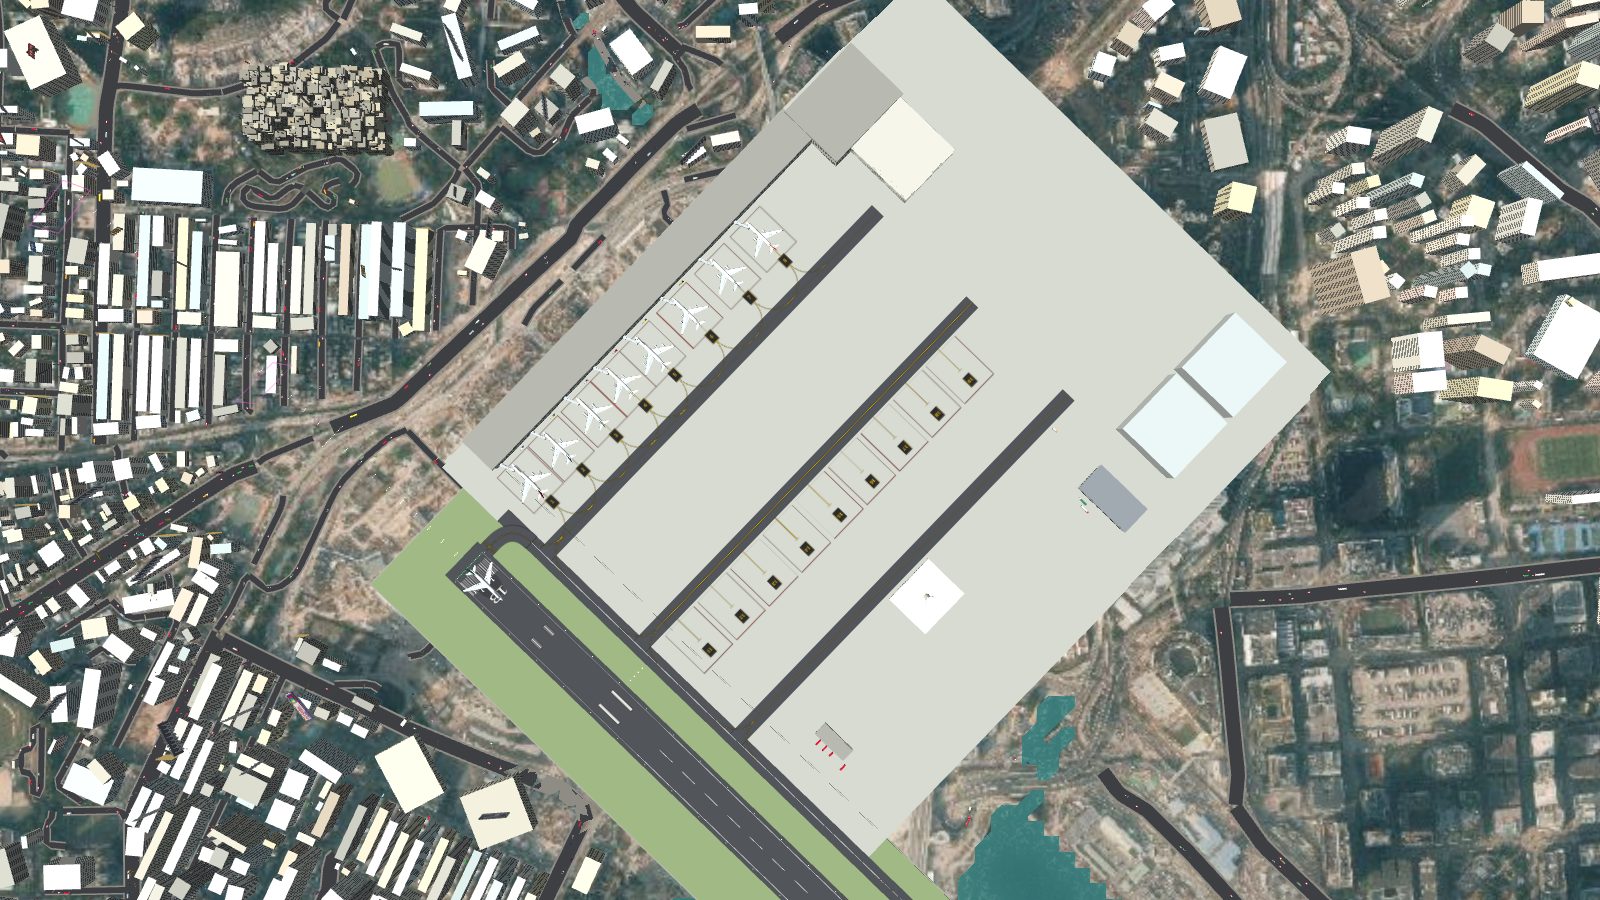
The terminal used to run alongside the runway. On the real airport it did not: the passenger terminal stood at the north-west end of the apron and its pier ran out at right angles to the runway. The sim now follows the airport chart and the terminal plans.
What moved
The pier now sits at the head of the apron with its face toward the runway end, the main terminal block and the multi-storey car park beyond its west end, and two maintenance hangars across the apron. The tower stands on its own base building in the middle of the apron. Stand positions were measured from the chart, so stands 1 to 8 are spaced 63 to 87 m apart rather than evenly.
Apron lanes and stands
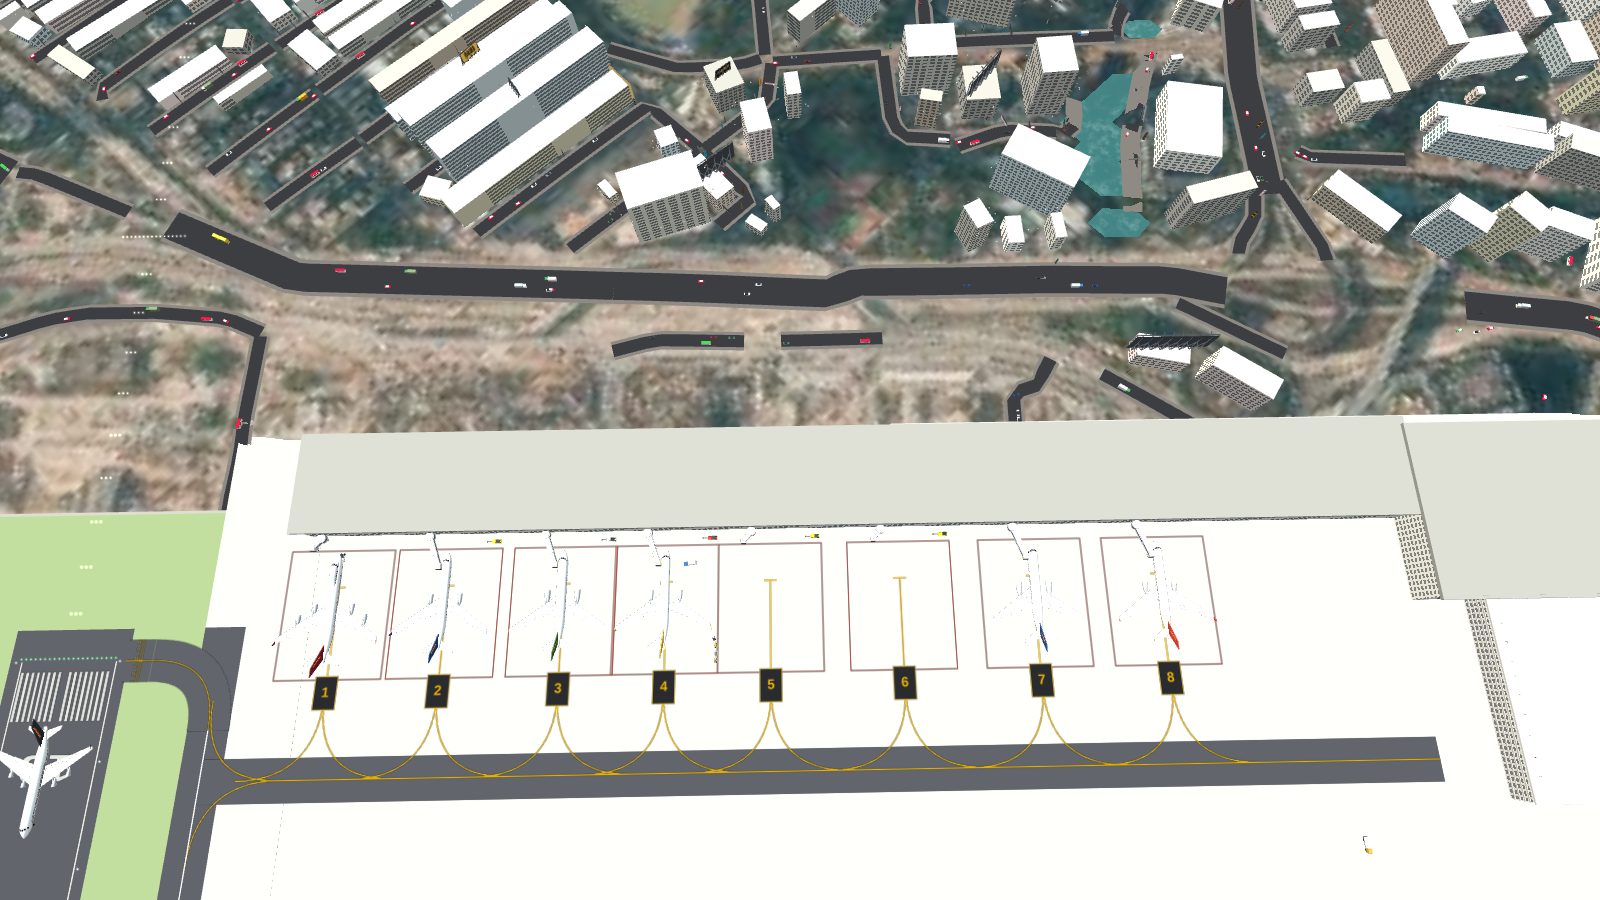
Three lanes leave taxiway A at right angles. D3 runs along the stands, and D2 and D1 serve rows of remote stands (numbered 11 to 19). The yellow guidance lines, nose-wheel stop bars and red stand boxes were redrawn for the new layout, with the stand number painted at the lead-in.
Traffic follows the new routes
Arrivals exit onto taxiway A, turn into lane D3 and then onto the stand's lead-in line. Departures are pushed straight back by the tug, turned a quarter circle toward taxiway A and taxi out from there. Catering trucks, baggage tractors and the pushback tugs run between the wingtips at each stand, and the flight board shows the stand numbers 1 to 6. Stands 7 and 8 always hold a parked aircraft.
Landings are unaffected: the autopilot still lands on both runways in every weather preset, and flying with no input still ends in a crash.
以前個客運大樓係沿住跑道起。真正嘅機場唔係咁:客運大樓喺停機坪西北端,指廊同跑道成直角伸出去。而家模擬器跟返機場圖同大樓平面圖。
改咗啲乜
指廊而家喺停機坪頂端,面向跑道盡頭;主大樓同多層停車場喺指廊西端後面,兩個維修機庫喺停機坪對面。控制塔企喺停機坪中間嘅底座建築上。停機位嘅位置係按圖量度,所以 1 至 8 號機位相隔 63 至 87 米,唔係平均分佈。
停機坪滑行道同機位
三條滑行道同 A 滑行道成直角。D3 沿住機位,D2 同 D1 服務遠端機位(11 至 19 號)。黃色引導線、前輪停止線同紅色機位框都按新佈局重畫,機位號碼畫喺引入線上。
交通跟新路線
到達嘅飛機離開 A 滑行道,轉入 D3,再入機位嘅引入線。離港嘅飛機由拖車直線推後,再轉四分之一圈面向 A 滑行道,然後滑出。飲食車、行李拖車同推機拖車喺每個機位嘅翼尖之間行走,航班資訊板顯示 1 至 6 號機位。7 號同 8 號機位長期停住一架飛機。
降落冇受影響:自動駕駛仍然可以喺所有天氣預設下降落兩條跑道,而完全唔操作飛機仍然會墜毀。
More from the blog
New: link taxiways between the runway and taxiway A
Fly Kai Tak update: five angled bitumen link taxiways now join the runway to parallel taxiway A, matching the aerial photographs of Kai Tak.
Read the post →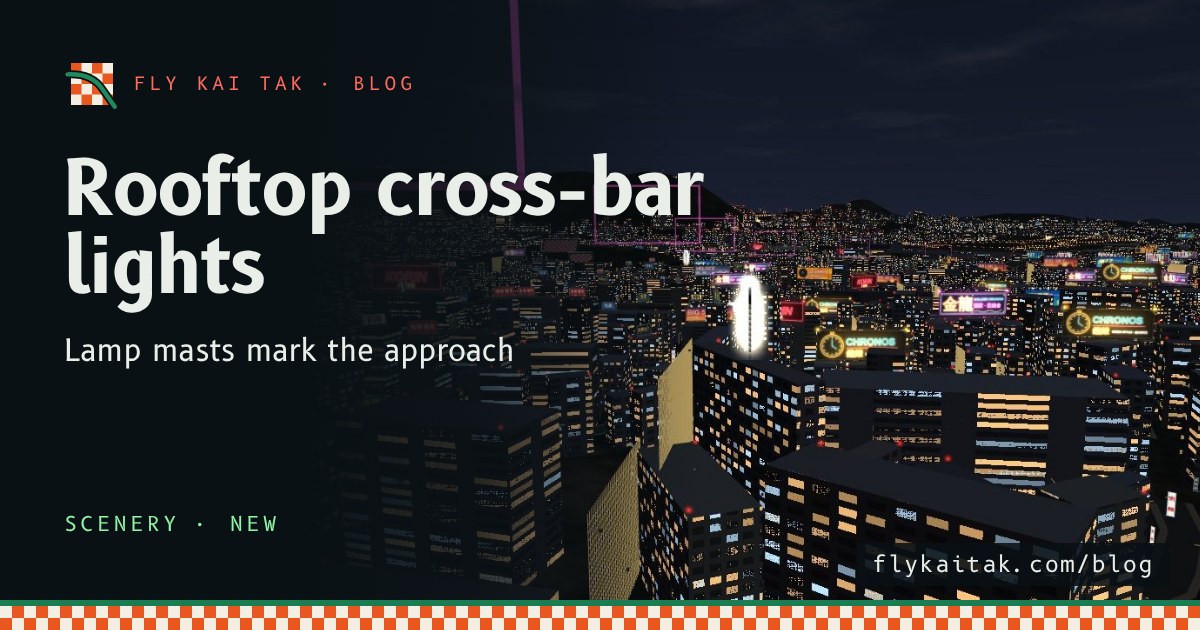
Rooftop Cross-Bar Lights on the Approach
Three bright cross-bar lamp masts on tall Kowloon rooftops now mark the approach to Runway 13 and Runway 31, glowing at night under the flight path.
Read the post →